| 26.4. Module Field Interface | ||
|---|---|---|
 | Chapter 26. Project Wizard |  |
| 26.4. Module Field Interface | ||
|---|---|---|
| | Chapter 26. Project Wizard | |
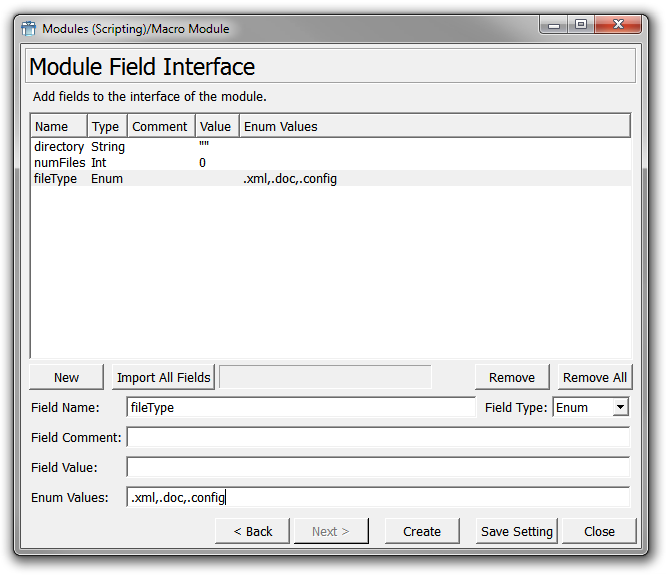
Add fields to the interface of the module.
New
Adds a new field. Click the entry first and then edit the field parameters.
Import All Fields
Imports all fields of all modules of the internal network and makes them available as fields in the macro's interface.
Each field is automatically named <InternalModuleName>_<FieldName>.
Remove
Removes the selected field.
Remove all
Removes all fields.
For each field, the following may be entered, depending on the field type:
Field Name
Provides the field name. Has to be unique in the module.
Field Type
Provides the field type. Available types are String, Enum, Bool, Int, Float, Double, Progress, Notify, Base, and SoNode.
Field Comment
Adds a comment to the field, useful for the generated code.
Field Value
Sets the field value.
Enum Values (for enum field only)
Sets the enumerator values. Separate the values by commas.
Click Create to create the module and show a final page with creation information.
© 2026 MeVis Medical Solutions AG
| |  | |
| 26.3. Modules (Scripting) Wizard |  | 26.5. Algorithm Macro |