| 7.4. Creating the Anatomical Image | ||
|---|---|---|
 | Chapter 7. Creating an Open Inventor Scene |  |
| 7.4. Creating the Anatomical Image | ||
|---|---|---|
| | Chapter 7. Creating an Open Inventor Scene | |
Last not least we need the 3D image at which the applicator shall be positioned.
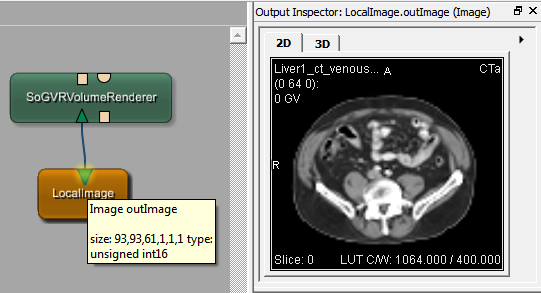
As first step, add a LocalImage module. Select an image from the demo data folder, for example the liver set at $(DemoDataPath)/Liver1_CT_venous.small.dcm. You can view the result in the normal Output Inspector.
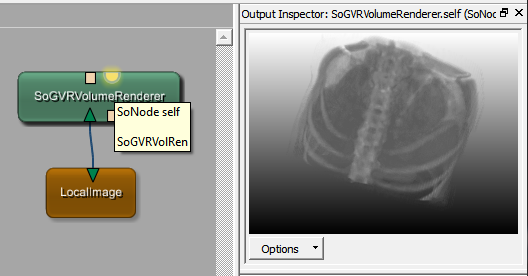
For the 3D display, add a SoGVRVolumeRenderer module. Behind this hides a rather potent module called GigaVoxel Renderer. It comes with many features — open its panel to have a look at the options.
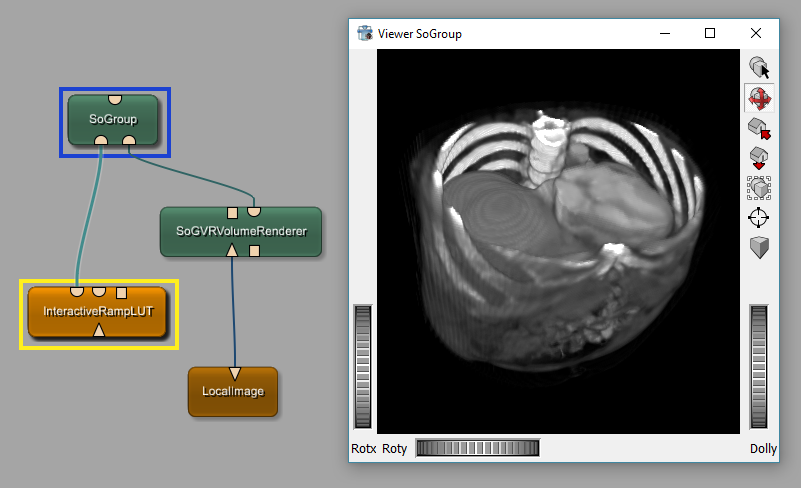
For the windowing we use the InteractiveRampLUT module. This modules changes the windowing values by tracking the mouse while the right mouse button is pressed.
Add the module to your applicator network and connect it to the SoGroup module, in front of the rendering module.
The default settings of the InteractiveRampLUT
are suitable for our purposes, so we don't need to change anything.
© 2023 MeVis Medical Solutions AG
| |  | |
| 7.3. Creating the Interaction |  | 7.5. Finishing the Complete Open Inventor Scene |